Key Points
- A silo sold as a ‘sealed silo’ needs to be pressure tested to be sure it’s gas-tight.
- It is strongly recommended that growers ask the manufacturer or reseller to quote the AS2628 on the invoice as a means of legal reference to the quality of the silo being paid for.
- Pressure test sealed silos upon erection, annually and before fumigating with a five-minute half-life pressure test.
- Maintenance is the key to ensuring a silo purchased as sealable can be sealed and gas-tight.
What is a sealed silo?
Just because a silo is sold as a sealed silo, does not automatically mean it’s suitable for fumigation.
To some people a sealed silo may be one that keeps rain out or one that is sold labelled as a sealed silo.
A silo is only truly sealed if it passes a five-minute half-life pressure test according to the Australian Standard AS2628. Often silos are sold as sealed but are not gas-tight — rendering them unsuitable for fumigation.
Even if a silo is sold as ‘sealed’ it is not sealed until it is proven gas-tight with a pressure test.
The term ‘sealed’ has been used loosely during the past and in fact some silos may not have been gas-tight from the day they were constructed.
However, even a silo that was gas-tight to the Australian Standard on construction will deteriorate over time so needs annual maintenance to remain gas-tight.
Why do I need to do a pressure test?
In order to kill grain pests at all stages of their life cycle (egg, larvae, pupae, adult), phosphine gas concentration levels need to reach and remain at 300 parts per million (ppm) for seven days or 200ppm for 10 days.
Trials show that these levels of gas concentration are impossible to achieve in silos that are not pressure tested and gas-tight, so insects will not be killed at all life stages. The fumigation may appear successful when the adults die but the surviving eggs and pupae will continue to develop and reinfest the grain.
A pressure test is a measure of how well a silo will seal to contain fumigation gas.
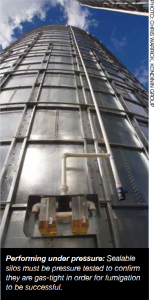 When to perform a pressure test
If silos are properly maintained pressure testing does not take long and should be done at three distinct times.
- When a new silo is erected on farm carry out a pressure test at a suitable time of day to make sure it’s gas-tight before paying the invoice or filling with grain.
- Importantly, a silo also needs to be pressure tested when full, before fumigating grain. If the silo has a slide plate outlet that has been tested empty, retest when full to make sure the pressure of the grain doesn’t compromise the seal. The weight of grain can break the seal on the slide-plate outlet where it is not well supported by cams or bolts etc. For older, poorly-designed cone-bottom silos, gentle pressure from a jack may assist the seal. If the weight of grain on the slide plate stops it from sealing, some added pressure from a jack under the silo will assist the sealability.
- Pressure testing silos needs to be part of the annual maintenance. It is much easier to replace seals and carry out repairs when silos are empty.
Carrying out a pressure test
If regular silo maintenance is undertaken to keep seals in working order, pressure testing is easy by following these seven simple steps.
1. Choose the right time to pressure test
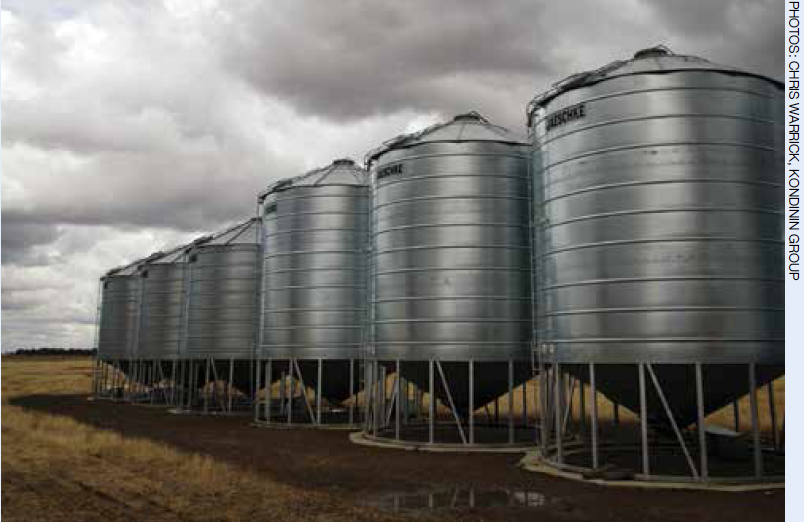 Consider the ambient conditions of the day before pressure testing.
The best time to pressure test silos is in the morning within an hour of sunrise or on a cool, overcast day — when the ambient temperature is stable and the sun is not heating the silo.
Air inside a silo heats and expands as the daily temperature rises and the sun warms the silo walls.
If a pressure test is done when the ambient conditions are changing, air inside the silo expands and gives a false reading.
2. Check seals
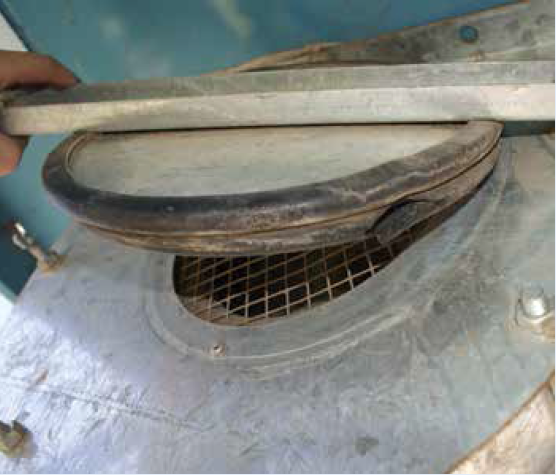
Before performing a pressure test check seals around the lid, access hatch, hopper or boot and make sure the aeration fan seal is in a sound condition.
Check to ensure all latches on lids are locked down firmly.
3. If there is no aeration fan – install an air valve
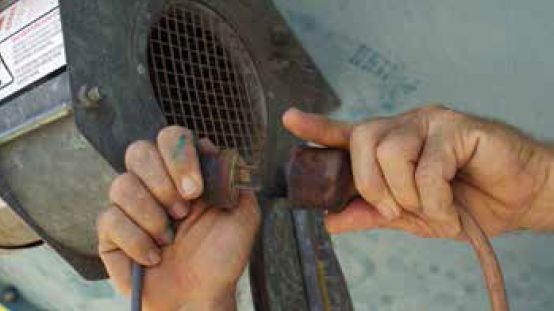
If the silo doesn’t have an aeration fan, install a tubeless tyre valve to pressurise the silo using an air compressor. Unscrew the centre of the valve to get higher air-flow into the silo.
Alternatively for larger silos or if the air compressor is too small, install a PVC male fitting that can connect to a venturi gun (Blovac) that fits on the end of the air line.
4. Check oil levels
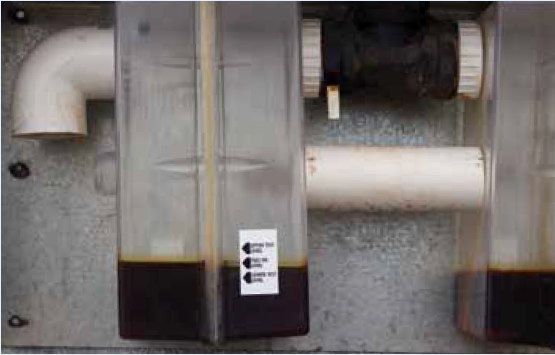
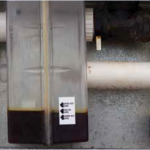 Some sealable silos do not have a gauge on the oil relief valve. If this is the case mark the start and finish oil levels with a pen.
Oil relief valves can be bought and fitted, or a piece of clear tube connected to a second air valve fitted to the silo will suffice.
Before pressurising the silo, check the oil levels are equal on both sides of the gauge and are at the middle indicator mark as shown below.
5. Pressurise the silo
If fitted with an aeration fan, pressurise the silo by turning the fan on for a few seconds, then sealing the inlet on the fan.
This job is easier with two people —one to operate the fan and the other to watch the oil gauge and look for leaks, see step 7.
As soon as the oil levels are more than 25mm apart, or the oil is bubbling, stop the aeration fan and close off the fan inlet immediately. Be careful — there is potential for damage if fans are left running for extended periods while the silo is sealed or with the inlet blocked off.
If the silo doesn’t have an aeration fan, use the tyre valve and an air compressor to pressurise the silo. An air-operated venturi gun, such as a Blovac, with connection fittings to the silo can also be used.